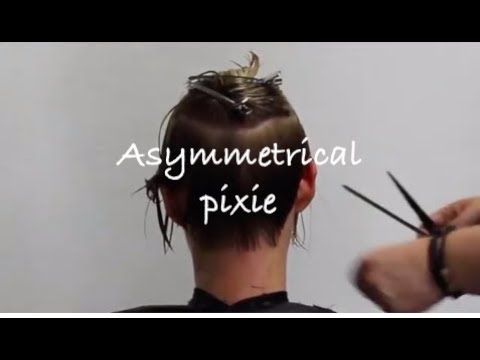
Watch: A Strong Asymmetrical Pixie Tutorial from the Channel
The live page already includes a short step-by-step description, but this redesign works better when it puts a salon-style haircut video at the center. That way visitors can read about the structure of the cut while also seeing how the shape actually comes together in real hair.
What Is an Asymmetrical Pixie Cut?
An asymmetrical pixie cut is a short hairstyle built around uneven lengths, usually with one side shorter and the other side longer or more forward. The live page explains it as a trendy short haircut that is typically shorter at the back and longer at the front, and that is still the clearest basic definition.
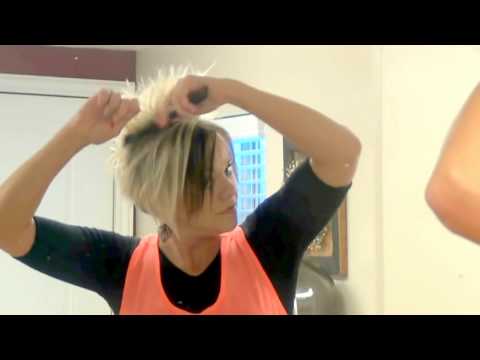
What makes the cut interesting is not just the unevenness itself. It is the way that imbalance creates softness on one side, edge on the other, and extra room for texture, bangs, undercut details, or volume at the crown.
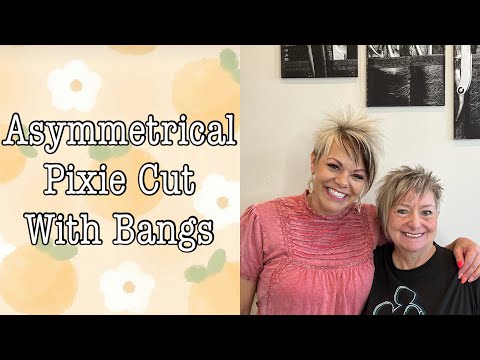
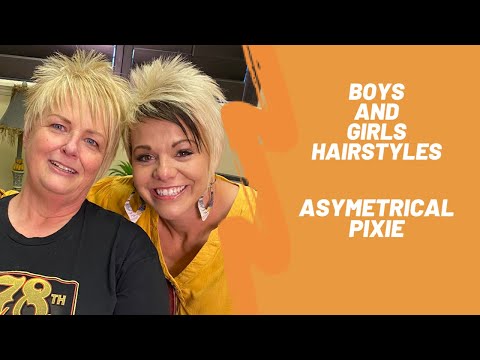
The Best Asymmetrical Pixie Variations
Your live page already mentions textured pixies, longer asymmetrical pixies, and undercut versions. This redesign turns those into cleaner style buckets so users can identify what version fits them best.
How Face Shape and Hair Type Affect the Look
The live page makes the right point that asymmetrical pixies can be adapted to different face shapes and hair types. That is true, but the success of the cut depends on how the asymmetry is placed.
| Hair / face factor | Best asymmetrical pixie approach | Why it works |
|---|---|---|
| Fine hair | Textured top with volume at crown | Adds lift and creates the appearance of fullness without weighing the cut down. |
| Thick hair | Undercut or weight removal | Helps reduce bulk while keeping the longer side defined and easy to manage. |
| Heart-shaped face | Lift at crown with softer longer side | Balances forehead width and brings attention toward the eyes and cheekbones. |
| Oval face | Most versions work well | Oval faces can usually carry stronger or softer asymmetry without much trouble. |
| Curly texture | Texture-led asymmetry | Works with the natural shape instead of fighting the curls into a straight silhouette. |
The Basic Cut Process
Your live page already outlines the cut simply: section the hair, choose the long side and short side, cut with scissors, then use a razor for texture and remove weight. This redesign keeps that logic but makes it easier to scan.
- 1Section the hair cleanlyA clean sectioning pattern keeps the asymmetry intentional instead of accidental. This matters especially around the fringe and crown.
- 2Choose the longer side and the shorter sideThis is the decision that defines the haircut. The longer side usually becomes the softer visual feature, while the short side adds sharpness.
- 3Build the basic perimeter with scissorsScissors set the main shape and keep the asymmetry balanced before texturizing begins.
- 4Use texture intentionallyA razor or point cutting can remove weight, add movement, and keep the pixie from feeling too blunt or helmet-like.
- 5Refine with styling in mindThe cut should be finished in a way that matches how the longer side and crown will actually be worn day to day.
How to Style an Asymmetrical Pixie
The live page recommends lightweight mousse or styling cream, blow-drying, and finishing with texture or shine. That is the right foundation. The key is deciding whether you want the pixie to feel polished, tousled, or volume-driven.
Maintenance and Common Mistakes
The current page recommends trims every 4 to 6 weeks, and that is exactly right for keeping the short side crisp and the longer side intentional. This is one of those cuts that quickly looks overgrown if the shape is not maintained.
- Trim every 4 to 6 weeks to preserve the asymmetry and avoid a shape that starts to blur.
- Use lightweight products instead of heavy ones so the pixie keeps movement.
- Do not over-straighten the longer side or it can lose softness and shape.
- Keep the crown hydrated and healthy if you use heat often, especially for volume styling.
- Match your styling method to your texture instead of copying every pixie tutorial exactly.
Featured YouTube Videos to Build This Page Around
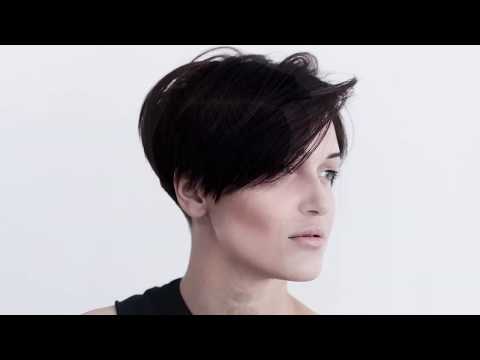
These video picks make the page feel much stronger than the live FAQ-heavy layout because they show the haircut from several angles: direct cutting, edgy versions, sleek versions, and fine-hair-friendly styling.